If you want to try growing your vegetables in a straw bale this year, remember you need to work to condition the bale before you plant it – about 2-3 weeks ahead of planting time.
You can plant the bale with seeds or transplants, but it’s important to set the bale out a few weeks before planting and keep it well watered so the inner straw will begin to break down. Experts recommend adding three cups of organic fertilizer – blood meal, compost, and cottonseed meal are three examples – every other day before watering to carry the fertilizer down into the bale.
Conditioning creates a moist, nutrient-rich rooting environment in the bale.
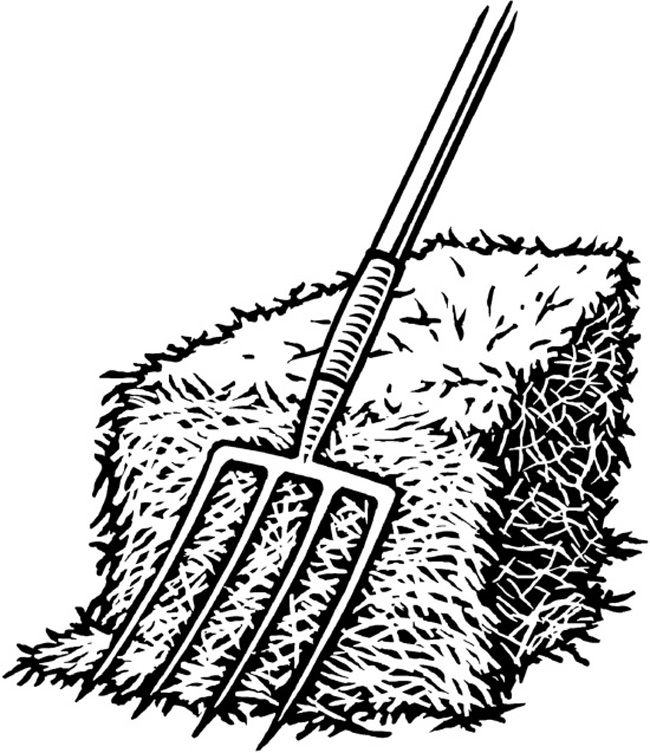
The best straw to use is wheat straw and make sure it is straw and not hay – hay typically contains lots of weed seeds.
It’s recommended that the bale be placed with binding strips on the side to make it easier for water and fertilizer to penetrate – but the process will work either way. Make sure your bale or bales are placed in a sunny spot where they can be easily watered.
 Also, give the bales a chance to cool before planting – if they have heated up during the conditioning phase – just stick your hand in the bale to check. When you are ready to plant, dig out a section of straw and add compost or high quality potting mix on top of the straw and gently water the bale before planting.
Keep the bale well watered as it will dry out quickly. Mold/mushroom growth on the bale itself is normal.
If your plants need support, place stakes at either end of the bale and use them for stringing up support, or can place the bales near a fence or shed to help with support.
The bale will continue to decompose during the gardening season. What’s left can be used next year as a source of organic material to build up your garden soil – as long as the plants you grew stayed healthy. If there was any sign of disease, dispose of both the plants and the straw.